By Ben Nitkin on
Last time, I described how a combination lock worked. This article describes how the concept is implemented in wood, and our early design process. We started our design by foraging for stuff surveying our assets. We based our design on the large sheet of ¼" plywood, and 3/16" and ½" diameter dowels we found. Foraging Looking for interesting tools netted us hole saws (ranging from ½" to 2" internal diameter).
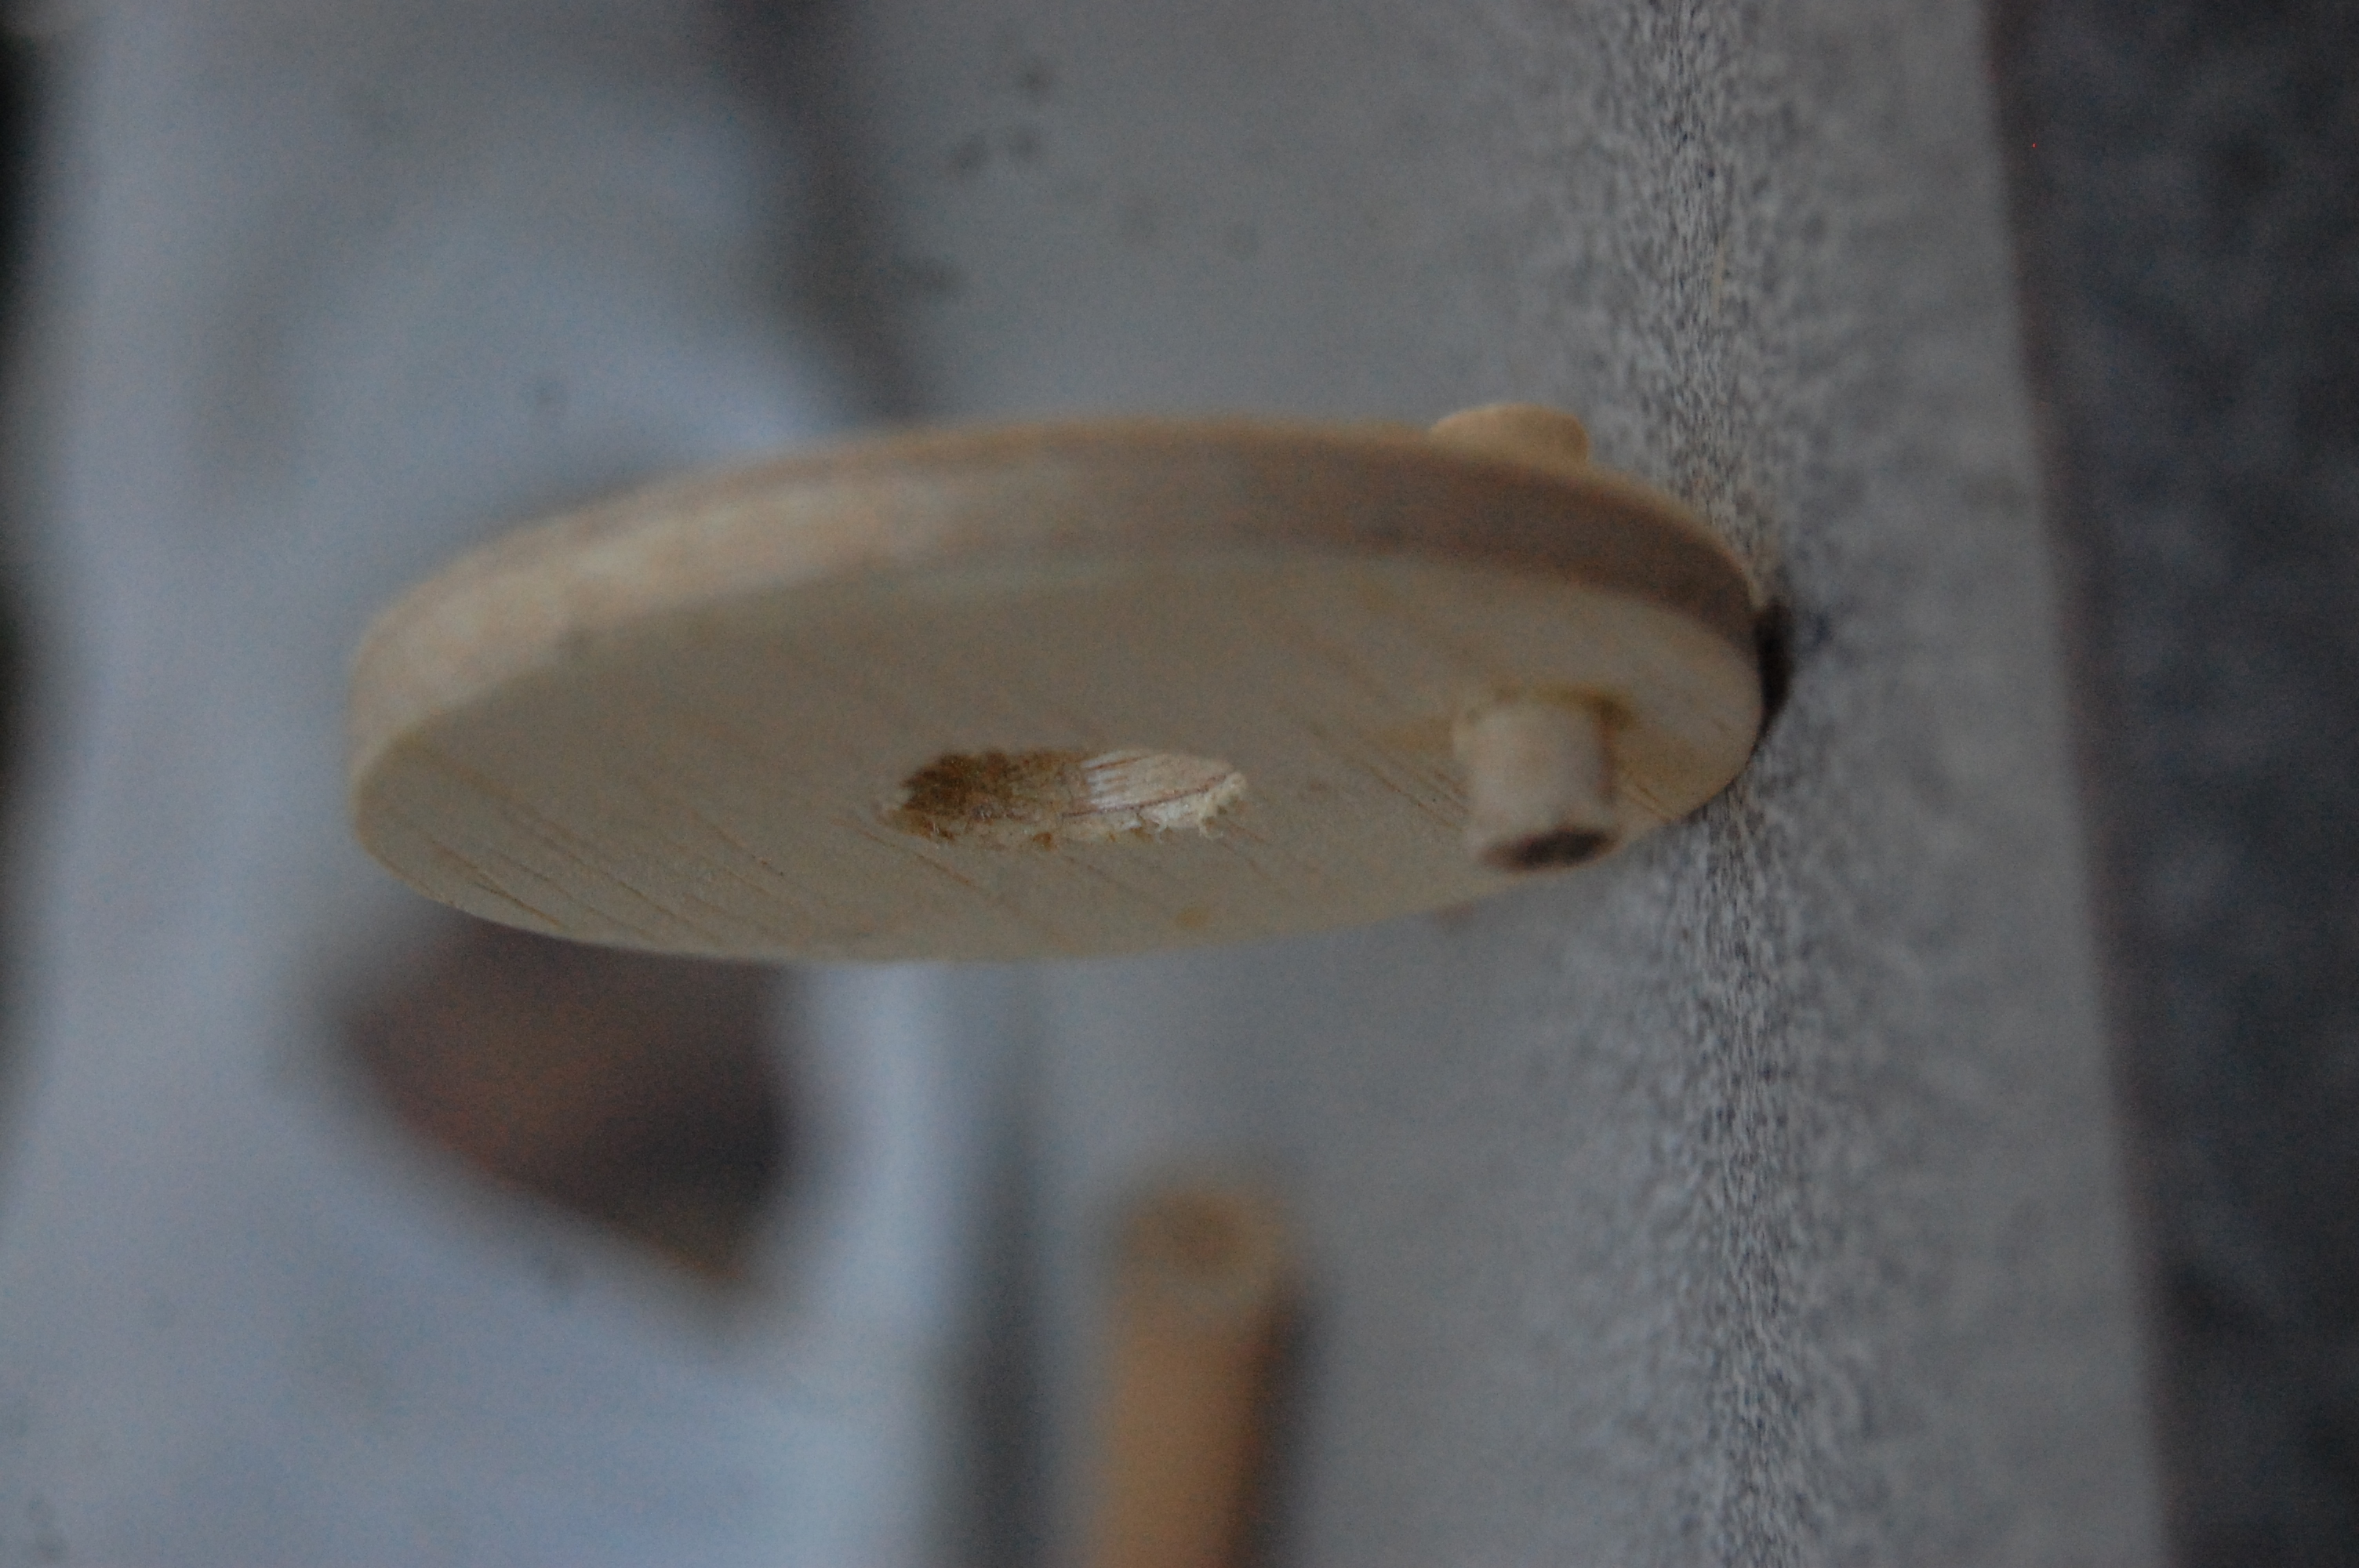
With those materials to work with, we set about designing the lock. We decided to make the rotors cylinders: 2" diameter by ¼" thick. A small dowel near the edge of the disk allows the disks to interlock with each other. And a slot in the disk mates with the unlocking mechanism.
Next, we needed washers to keep the rotors apart. A smaller hole saw, followed by center boring would do the trick.
The most difficult part was the faceplate. The faceplate needed to attach to the frontmost rotor while holding the entire assembly together. We started the design with a 1" dowel, 1" long. A ½" hole (½" deep) held the dowel. A smaller hole, concentric to the first, would house a screw to anchor the front rotor to the dowel stack. Some work on the front side of the faceplate added to the aesthetic: squared corners, and a decorative face piece.
Two face frames would house the entire assembly, and a bar and lever assembly would form the latch, by descending into the slots in the rotors, once they were aligned.